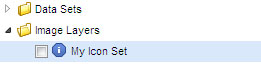
Image Layers
MapProvision allows you to create and define your own Image Layers.
To launch the Image Layer tools click the Add Image Layer button in your Data Collection's Manager mode.

This will launch the Image Layer tools.
You can upload your own images to MapProvision using the Manage and Import Images tool.
You can then use these icons to create your own Image Layers which can be used to create Image Layers.
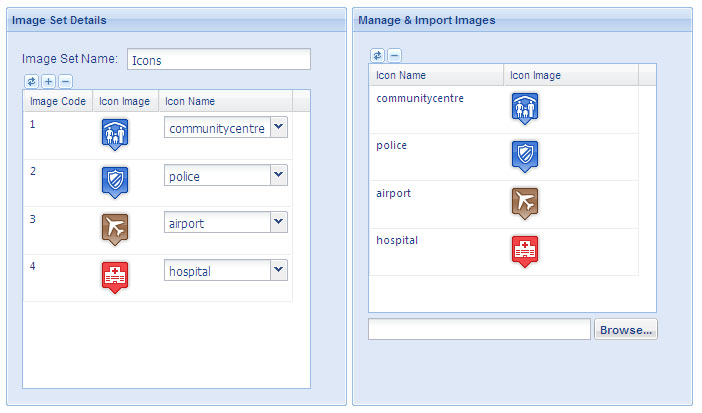
Manage and Import Images
You can upload any image you want to use in a user defined image layer by simply clicking browse and
choosing any JPEG, PNG or GIF image that you have on your local hard drive. This will automatically
upload your image and will now be available for any Image Layers that you wish to create on
your MapProvision account.
Here you can also delete images you no longer want by selecting the  delete button.
You can also refresh the list of available images by selecting the  refresh button.
A great resource to find and customize free icons that you may require in your datasets is the following
Map Icons page.
Image Layer Details
Here you can specify the icons that you want in your user defined Image Layer.
First give your Image Layer a name which will appear in the Image Layers folder for the Data Collection.
You can add a new image by selecting the  Add button. This will
add a new row to you Image Layer where you can select the desired image from the drop down box. Add button. This will
add a new row to you Image Layer where you can select the desired image from the drop down box.
You can remove an image from the Image Layer by selecting the image's row and clicking the
delete button.
If more images have recently been uploaded you can refresh the lists of available images by
selecting the refresh button.
The Image Layer Details tool has has a grid with three columns.
Image Code
This can be edited by the user to set the value in the in the dataset's image layer attribute
to match this icon at that point location.
For example if I have the following raw data in my dataset.
latitude,longitude,value
-35.988255322070465,174.44115149809519,1
-35.988255322070465,174.44134032560984,2
And the attribute called "value": was being used for the Image Layer. Then the first point with value attribute 1 would be
linked to the community center icon and the second point with value attribute 2 would be linked to the police icon
as shown in the above screenshot.
Icon Image
This column shows a preview of each image.
Icon Name
This column shows the drop down box you can use to select the image to use in your Image Layers.
When you have finished creating your Image Layer click Save and the Image Layer will be stored.
It will then be available in the layer selection tool when adding or updating datasets. You can
edit an Image Layer at Any Time by selecting the Image Layer from the Image Layers tree making any
changes and again clicking Save.
|